Final Image Preview
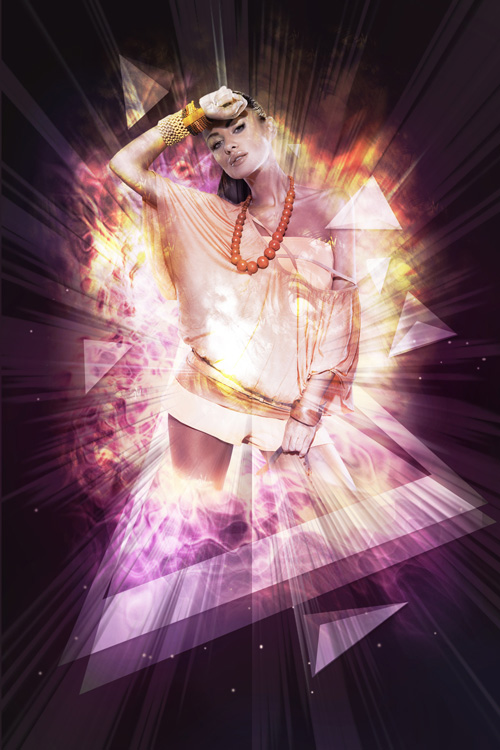



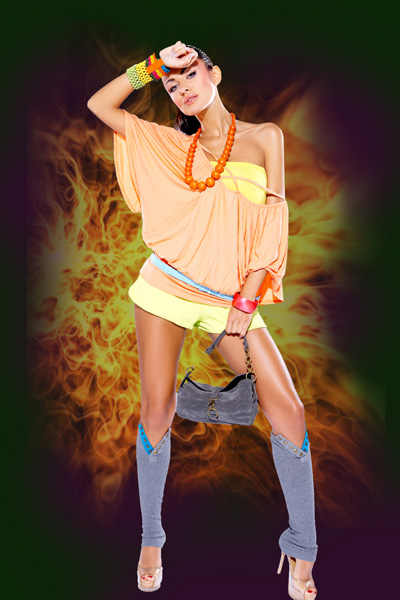
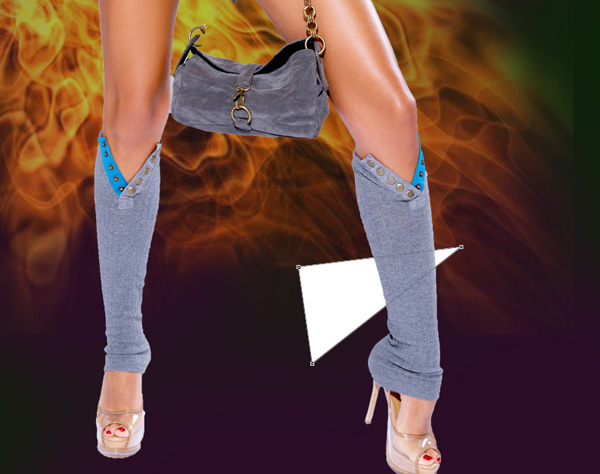

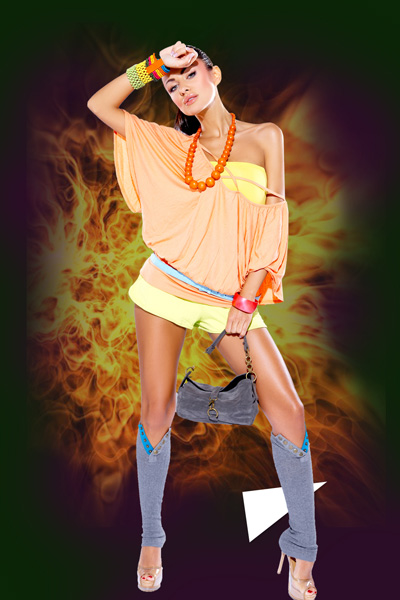
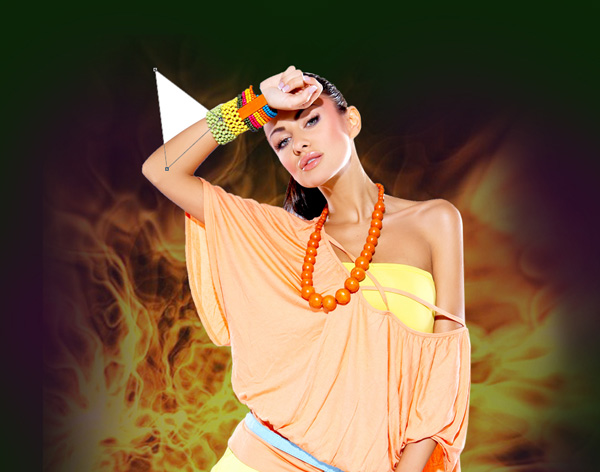



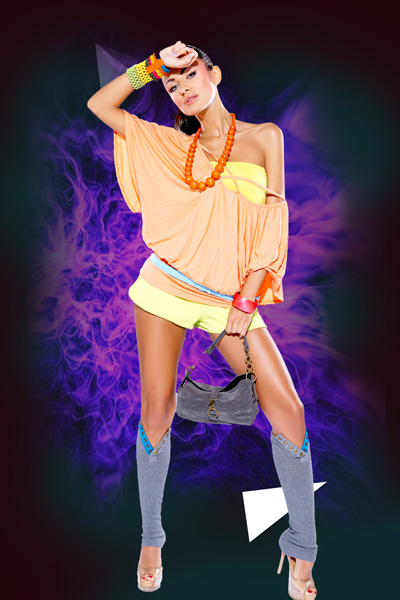
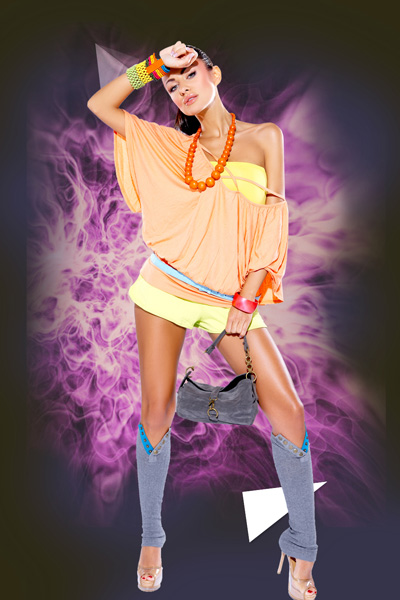

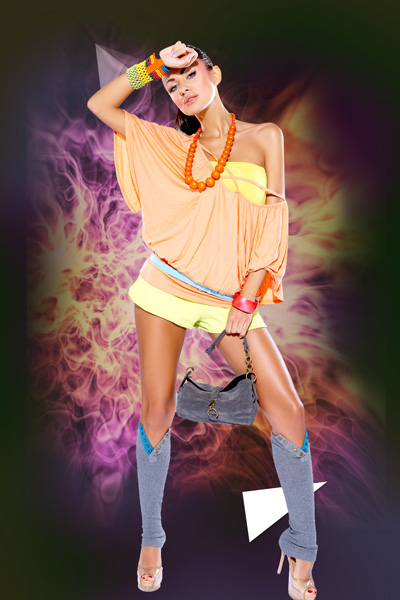
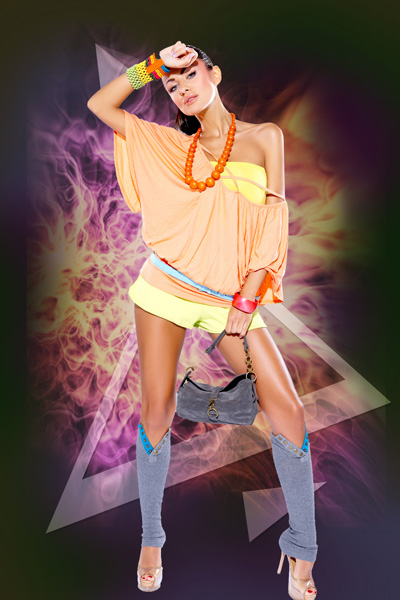

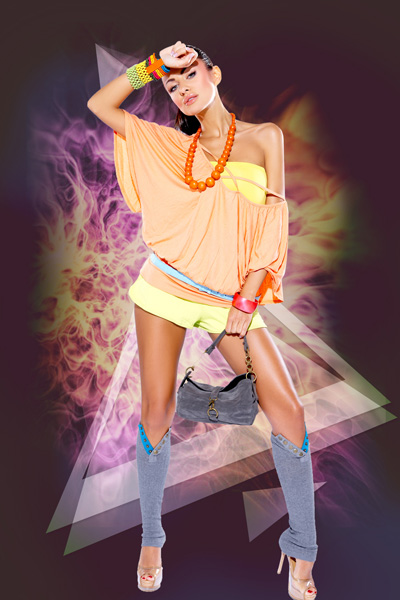
sumber: http://www.adobetutorialz.com/articles/30971108/1/create-dynamic-art-using-glows-and-lighting-effects-in-photoshop-cs5

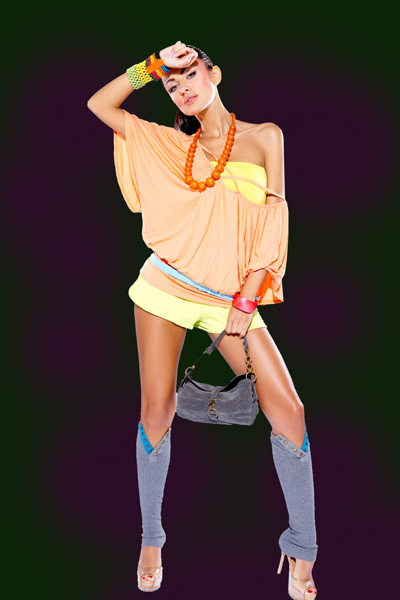
Start working by creating a new document (Ctrl+N) in Adobe Photoshop CS5 with the size 1000px by 1500px(RGB color mode) at a resolution of 72 pixels/inch. Use the Paint Bucket Tool (G) to fill with #0A2406 color the new background layer.

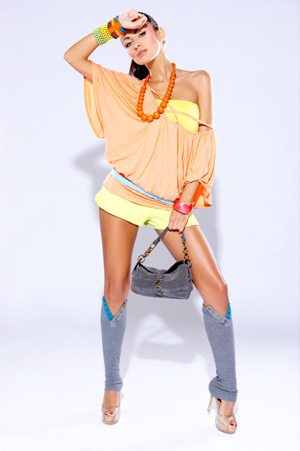
Find a stock photo with a model represented on it, I used this Portrait of beautiful and sexy fashion woman fromShutterstock. I would like to thank the author of this photo, or if you prefer, you can substitute similar image of your own.

Remove the background using your favorite tools like Pen Tool (P), Magic Wand Tool (W), Magnetic Lasso (L) or even a simple Filter>Extract and insert it on a new layer in our main document.

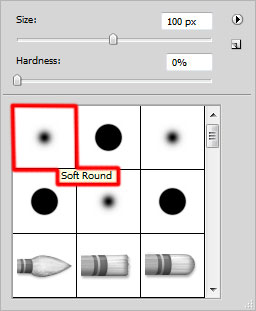
Create now a new layer and select the Soft Round brush.

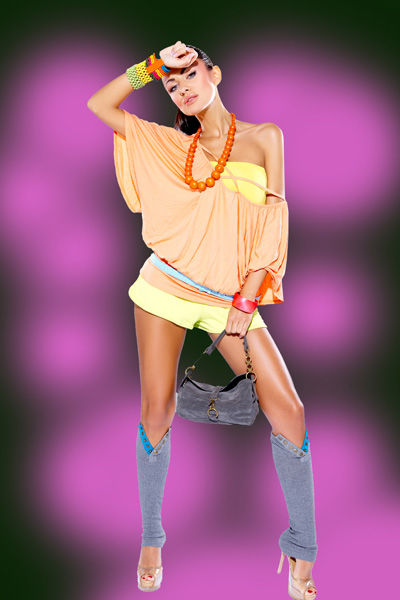
Use this brush to paint the background as it is demonstrated on the next picture. The brush’s color is #D260C0. The layer will be placed under the woman’s layer.

Set the Blending mode for this layer to Hue.

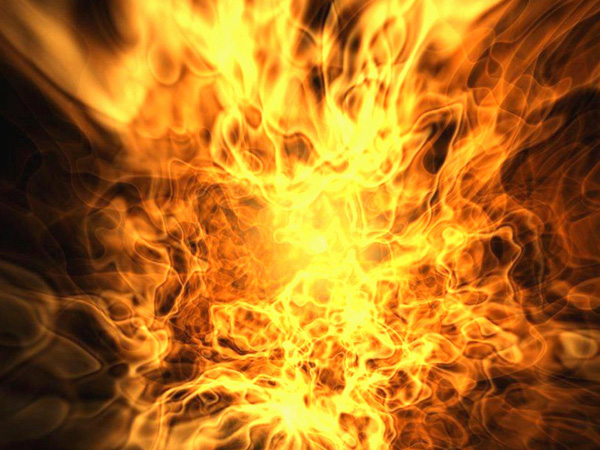
Find a stock photo with fire on a black background:

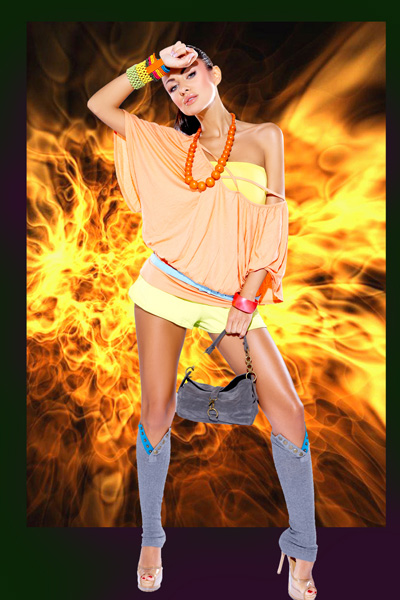
Insert it on our main document. Fire layer will be placed under the woman’s layer. Using the Free Transform (Ctrl+T) command, we may change the fire’s layer sizes if necessary.

Insert the mask on last made layer by choosing Add layer mask on the bottom part of the Layers panel and choose the Soft Round brush of black color (set Opacity to 40% in Options bar).

Paint in the mask using this brush to hide the fire’s layer along its edges. Set Fill to 70% for this layer.

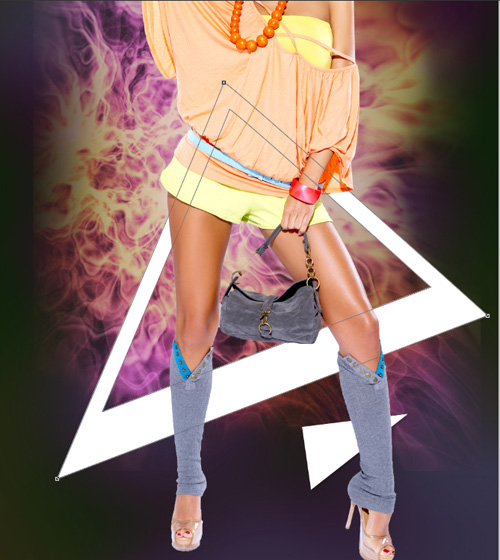
Next we’ll represent a triangle, choose the Pen Tool (P), set the drawing mode on Shape Layers in Options bar and draw the next shape as shown. The layer will be situated under the woman’s layer.

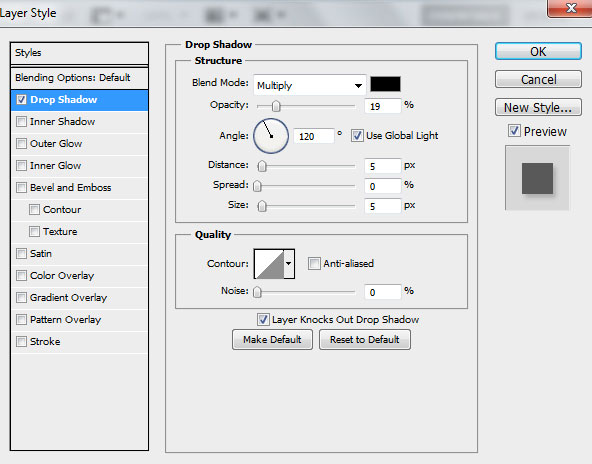
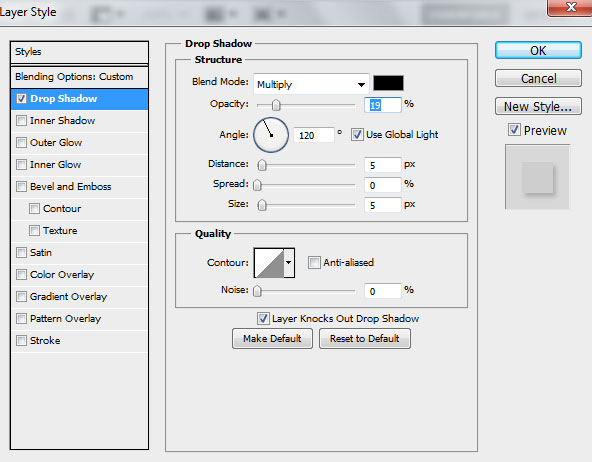
Click on Add a layer style icon from bottom part of the Layers panel and select Drop Shadow.

We’ve got the next result:

Using the same tool, it’s possible to represent another triangle of white color. Place the layer under the model’s one.

Set the Blending mode for this layer to Soft Light and add Drop Shadow style like on the previous triangle.

Take the Pen Tool (P) to create near the recently made one, another triangle. Place the layer under the woman’s layer. The triangle’s color is gray.

Set the Blending mode for this layer to Soft Light. Click on Add a layer style icon from bottom part of theLayers panel and select Drop Shadow.

We’ve got the next result:

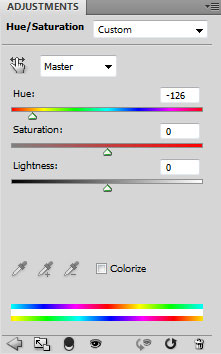
Click Create new fill or adjustment layer from bottom part of the Layers panel and select Hue/Saturation.
Drag the slider to the left to decrease the Hue of the color range.
Drag the slider to the left to decrease the Hue of the color range.

The layer will be situated under the woman’s one.

Set the Blending mode for this layer to Screen.

Insert the mask on the last made layer by choosing Add layer mask on the bottom part of the Layers paneland choose the Soft Round brush of black color (set Opacity to 30% in Options bar).

Paint in the mask using this brush to hide out the edges as shown, re-creating this way the flame.

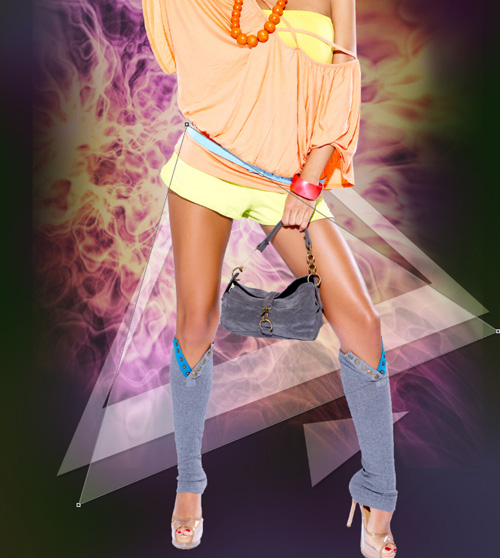
Create one more triangle, cutting the inside part of it, using the Pen Tool (P), select the Exclude overlapping shape areas from Options bar to cut the central part of the triangle.

Set the Blending mode for this layer to Soft Light. Click on Add a layer style icon from bottom part of theLayers panel and select Drop Shadow.

We’ve got the next result:

Use the Pen Tool (P) to represent this time a white triangle with the previous layer’s parameters (Blending mode-Soft Light and Drop Shadow style). Place the layer under the woman’s layer.

Create a new layer and choose the Paint Bucket Tool (G) to fill the new layer with #391E2A color. Place the layer under the woman’s layer.

Set the Blending mode for this layer to Lighten.

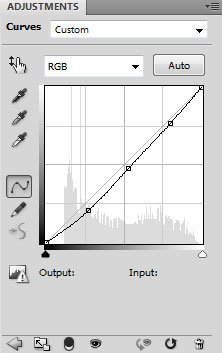
Click Create new fill or adjustment layer from bottom part of the Layers panel and click to Curves to adjust the curve shape as shown to make a little color corrections.

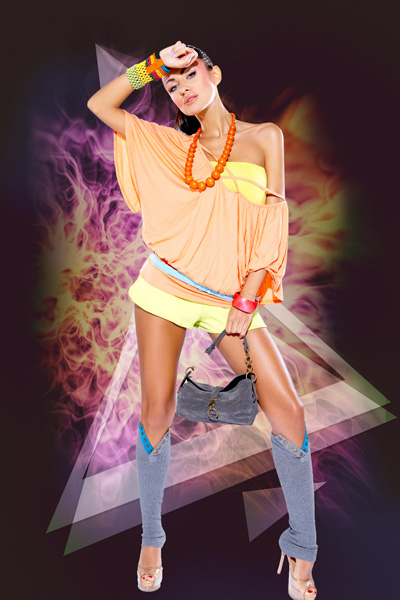
Place the layer under the woman’s layer. We’ve got the next result:


No comments:
Post a Comment